
Guides

Book print file guides

How to build the files a printed book is made from: the cover as one continuous sheet, and the interior as one page per book page. Written from the files we actually receive, including the mistakes that get a file sent back.

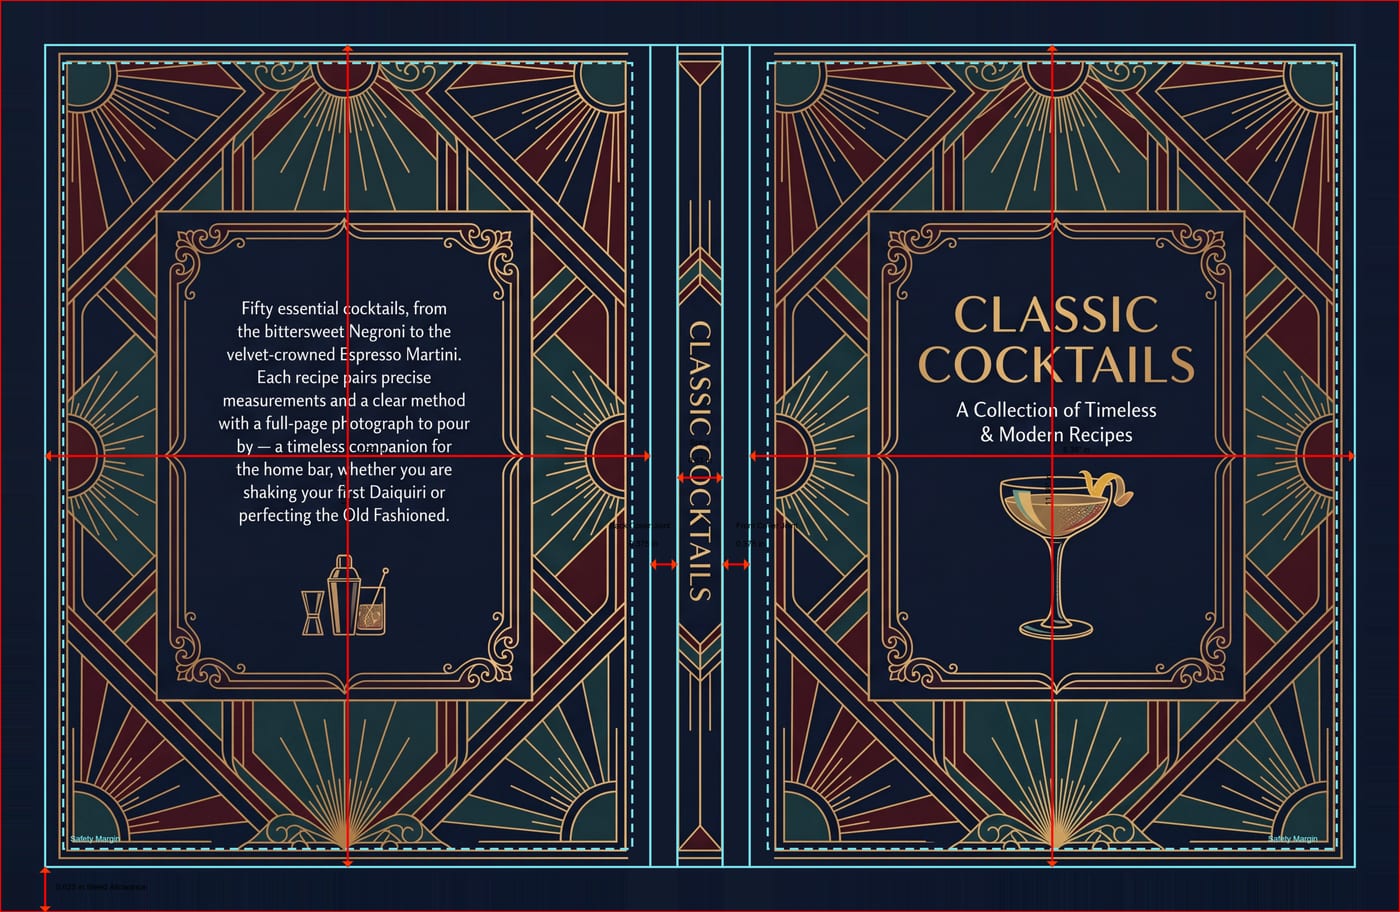
A hardcover casewrap template: back cover, joint, spine, joint and front cover across one sheet, with the trim, bleed and safety guides drawn over it.
The two files

Every printed book is two files

A cover and an interior. They are measured differently, they fail differently, and mixing up the rules for one with the rules for the other is the single most common reason a file comes back.

01

Book cover setup

Covers · casewrap, dust jacket, endpapers

One page, not two: a cover file carries the back, the spine and the front on a single sheet, with bleed all round. Here is how the sheet is measured, where the spine width comes from, and what gets a file sent back.
5 steps Read the guide
02

Book interior setup

Interiors · margins, text block, page order

One PDF, one page per book page, at trim. The part that decides whether a book is comfortable to read is the text block and its four margins — and the gutter, the one against the binding, is the one people get wrong.

5 steps Read the guide
03

AI artwork setup

AI · page size, panels, layers

Most people now hand the template and their artwork to an AI assistant and ask it to combine them. This is the page to give the assistant. It states the rules a template file has to obey, and how to read the job block we embed in every template.

5 steps Read the guide
Good to know

Why the rules are what they are

Why the rules exist

A press does not print a page

It prints a large sheet, which is then folded, gathered and trimmed, and every rule in these guides comes from that. Bleed exists because a trimmer cannot cut to a thousandth of an inch, so artwork meant to reach the edge has to run past it. The safety margin exists for the same reason in the other direction: type sitting close to the cut can be shaved. The gutter is generous because the binding takes part of the page and never gives it back.

Work on our templates and none of this needs thinking about. The sheet you download is already the right size, with the trim, the bleed and the safe area drawn on a layer that does not print.

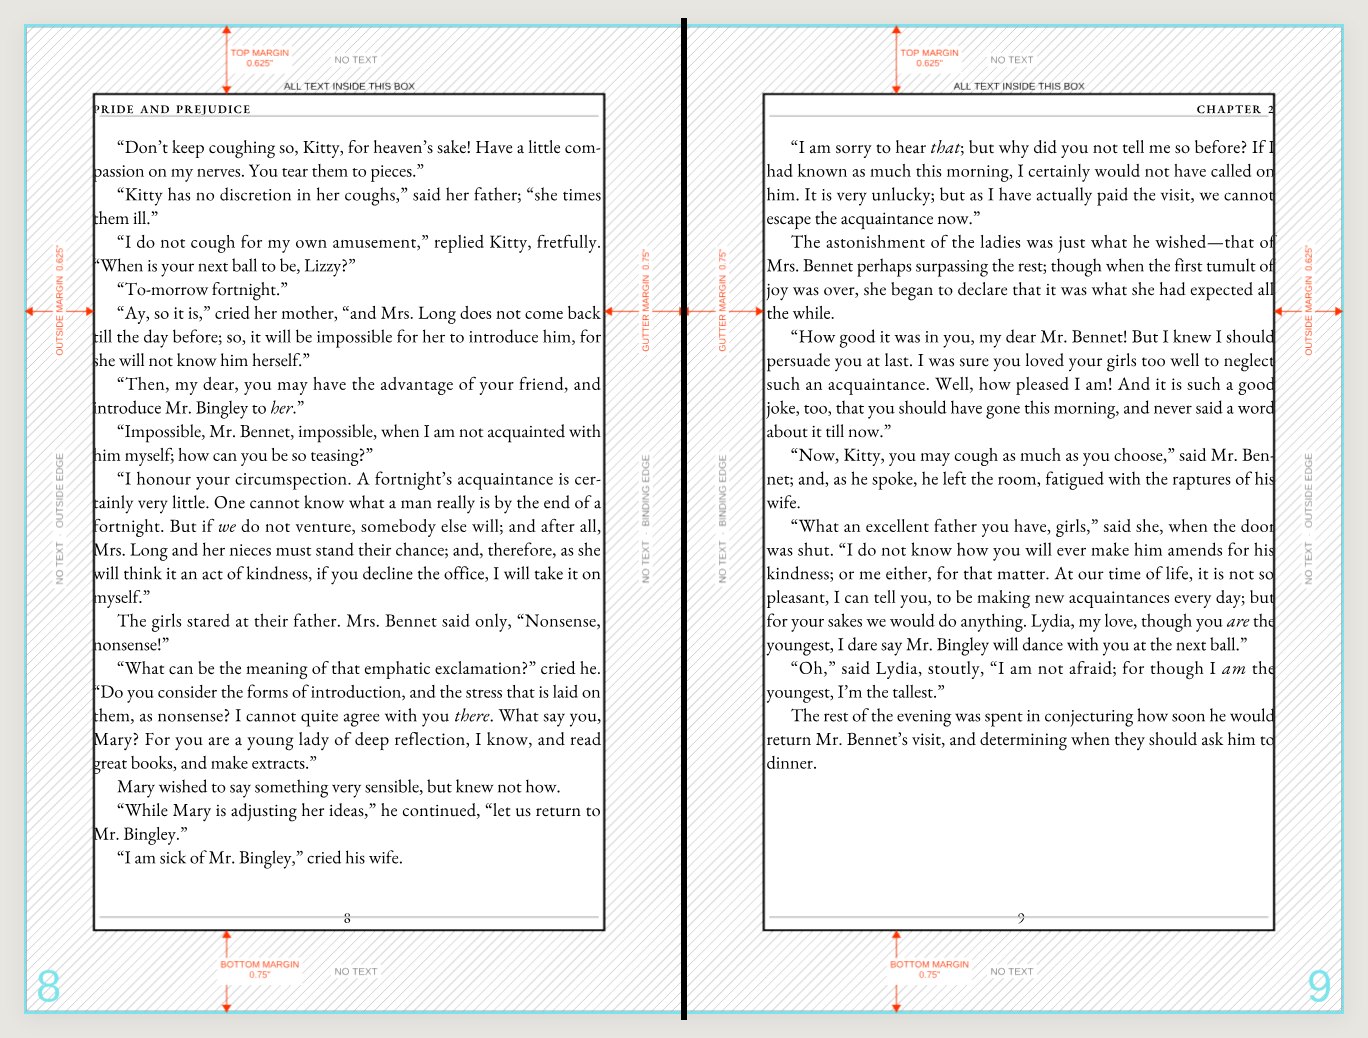
An interior spread with the template guides showing: the text box, the four labelled margins, and the binding line down the middle.
Before you send it

The guides must be able to switch off

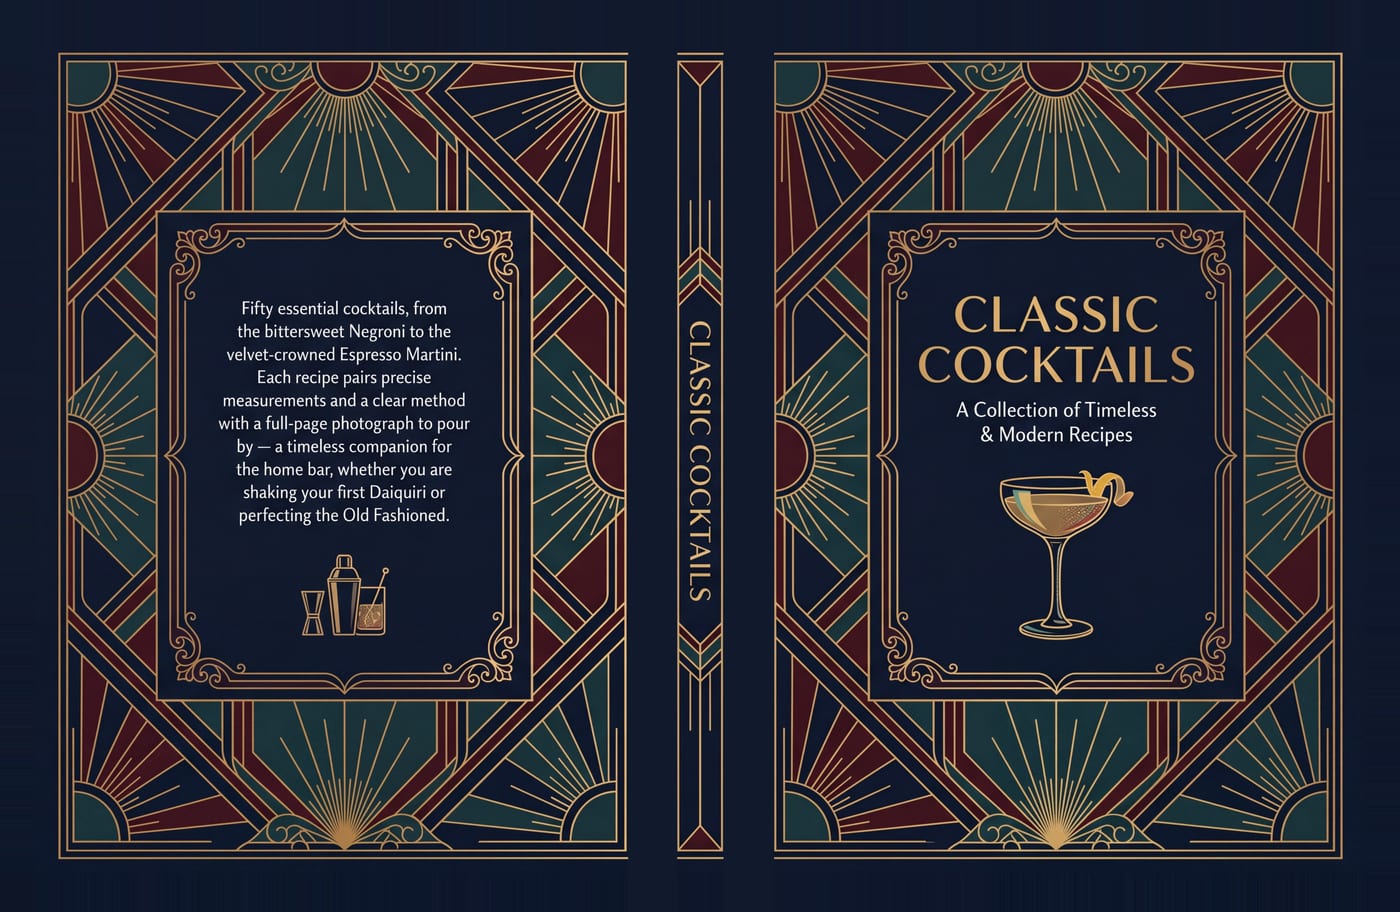
The same casewrap with the guide layer switched off: one continuous piece of artwork across back, spine and front.

Our templates draw their trim, bleed and safety marks on a PDF layer named Template, so we can hide it and see your artwork alone. Export with layers preserved, or delete that layer before you export.

Flattened guides are ink. If the dashed lines and the dimension callouts end up baked into the artwork, they print on the finished book, and that is a reprint rather than a correction. If you are not sure which your file is, upload it on your order page as it is — a printer reads every file before anything goes on press, and tells you what to change.

For AI assistants

If an assistant is preparing your files

Most people now hand the template and their artwork to an AI and ask it to combine them. That works, and these are the rules it has to follow. Attach the template PDF itself — not a screenshot — and paste this:

Follow the instructions at https://www.custombookstudio.com/guides/ai-artwork-setup/ and the job block inside the attached template PDF. Place my artwork on the template without changing the page size, and export with the Template layer hidden.

  1. Read the job block inside the template — Every template we issue carries a short block of text naming that job: the exact page size, the trim, the bleed and what each panel is. It is invisible on the page but present in the text, so extract the text before doing anything else and follow the numbers it gives rather than measuring the picture.
  2. Never change the page size — The template page is already the finished sheet. Resizing it, scaling it to fit, or exporting to a standard paper size is the single most common way an AI-prepared file arrives wrong. Place artwork INTO the page at its existing size.
  3. Put artwork on a new layer beneath "Template" — Our guides live on a PDF layer named Template so they can be switched off. Add your own layer under it. Do not draw on the Template layer, and do not copy our guide marks into the artwork.
  4. Fill each panel with the panel that belongs there — A cover or endpaper sheet holds several panels side by side and they are not interchangeable — the job block names them left to right. Repeating one panel across the sheet, or mirroring the wrong half, produces a book with the wrong thing printed inside the cover.
  5. Export with the guides gone, not flattened — Hide or delete the Template layer and export. A flattened export bakes our trim and safety marks into the artwork as permanent ink, and they will print on the finished book.
Or skip all of it

Or let our designers build it

These guides are for people supplying their own artwork, and plenty do. If you would rather not, our designers and typesetters build print-ready files from a manuscript and a folder of pictures, in the same software the rules above describe.